DIY LED BADGE
I decided on this project in order to learn several new skills at once. I wanted to learn how to create a simple microcontroller circuit as DIY as possible. This board features:
In order to get this project working, I had to learn a lot of concepts. In the end, I was able to etch my own circuits and write firmware to a bare-bones microcontroller using my own, scratch-built programmer. I was able to build functional Assembly routines in MPLABX in order to display various patterns, which is especially difficult as only one LED can be on at any moment.
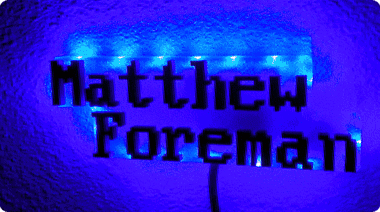
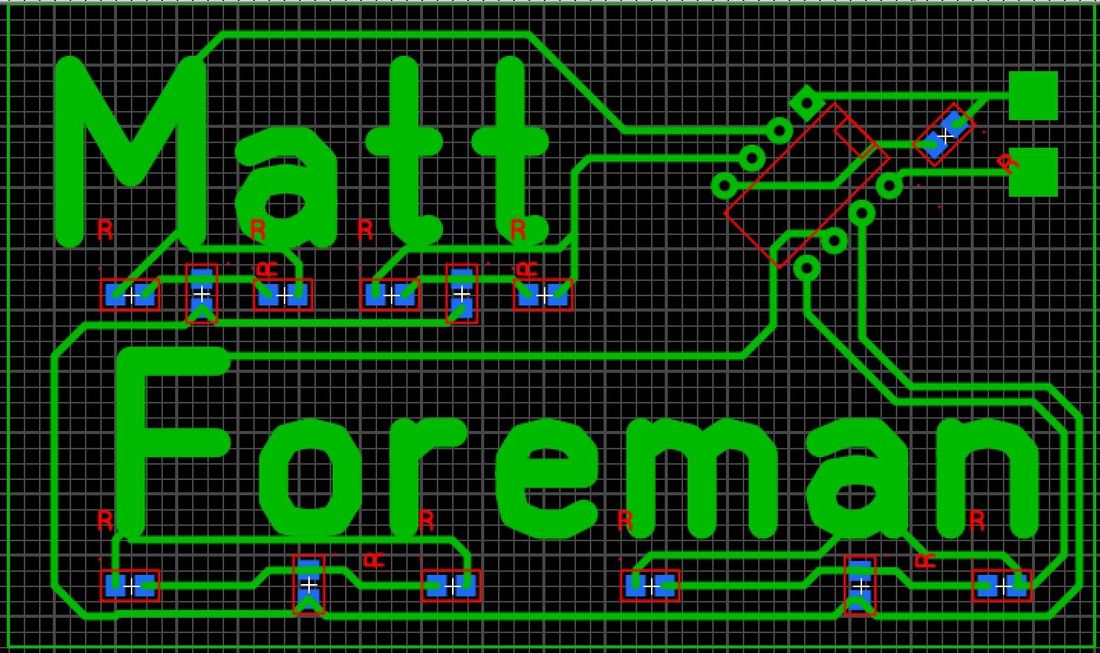
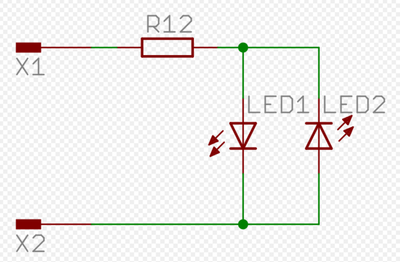
The second iteration ended up as a name badge I used for a local career fair, using the same schematic with a different layout.
- Microchip 8-Bit Microcontroller - PIC12F629
- Firmware written in Assembly
- PCB designed in Sprint Layout 6 and etched using the ferric chloride etching method
- Utilized “Charlieplexing” to control 8 individual LEDs with only 5 logic pins
In order to get this project working, I had to learn a lot of concepts. In the end, I was able to etch my own circuits and write firmware to a bare-bones microcontroller using my own, scratch-built programmer. I was able to build functional Assembly routines in MPLABX in order to display various patterns, which is especially difficult as only one LED can be on at any moment.
The second iteration ended up as a name badge I used for a local career fair, using the same schematic with a different layout.


